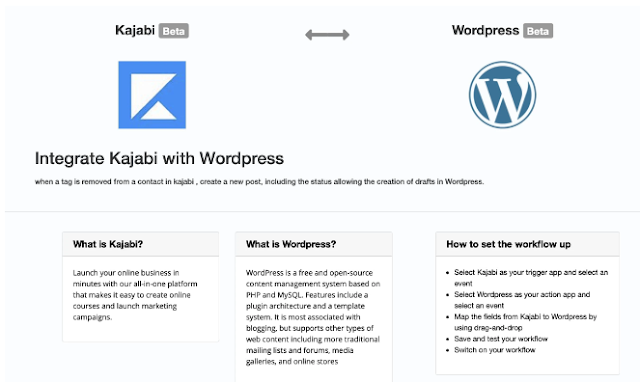
In this article, we will discuss how to use Kajabi with your WordPress website. Kajabi is an all-in-one platform for creating and selling online courses, memberships, and digital products. It provides a range of features, including website building, email marketing, payment processing, and more. However, WordPress is still the most popular website platform for bloggers, content creators, and businesses. Integrating Kajabi with WordPress can provide you with more flexibility, control, and customization options. Here, we will explain how to use Kajabi with WordPress, step by step.
Step 1: Connect Kajabi to WordPress
The first step is to connect Kajabi to WordPress. You can do this by installing the Kajabi plugin on your WordPress site. The plugin allows you to embed Kajabi pages, forms, and products directly into your WordPress site. Here’s how to install the Kajabi plugin:
- Log in to your WordPress dashboard.
- Click on “Plugins” in the left-hand menu.
- Click on “Add New” and search for “Kajabi.”
- Click on “Install Now” and then “Activate.”
Once the plugin is activated, you’ll be prompted to enter your Kajabi API key. You can find this key in your Kajabi account settings. Copy and paste the key into the plugin settings, and you’re ready to go.
Step 2: Create Kajabi Pages and Products
The next step is to create Kajabi pages and products that you want to embed on your WordPress site. You can do this by logging into your Kajabi account and using the Kajabi website builder. Here’s how to create a Kajabi page:
- Log in to your Kajabi account.
- Click on “Website” in the left-hand menu.
- Click on “Pages” and then “New Page.”
- Choose a template and customize the page using the Kajabi website builder.
- Save the page and publish it.
You can create multiple pages for your online courses, membership sites, sales pages, and more. You can also create digital products such as ebooks, videos, and audio files in Kajabi.
Step 3: Embed Kajabi Pages and Products in WordPress
The final step is to embed Kajabi pages and products in WordPress. You can do this using the Kajabi plugin and shortcodes. Shortcodes are small snippets of code that allow you to embed content on your WordPress site. Here’s how to embed a Kajabi page using a shortcode:
- Go to the Kajabi page you want to embed.
- Click on the “Share” button and then “Embed Code.”
- Copy the embed code and paste it into a WordPress post or page.
- Add the shortcode [kajabi] before and after the embed code.
- Save the post or page, and the Kajabi page will be embedded in your WordPress site.
You can also embed Kajabi products using shortcodes.
- Go to the Kajabi product you want to embed.
- Click on the “Share” button and then “Embed Code.”
- Copy the embed code and paste it into a WordPress post or page.
- Add the shortcode [kajabi-product] before and after the embed code.
- Save the post or page, and the Kajabi product will be embedded in your WordPress site.
Conclusion:
Integrating Kajabi with WordPress can provide you with more flexibility, control, and customization options. By using the Kajabi plugin and shortcodes, you can embed Kajabi pages, products, and forms directly into your WordPress site. This integration can help you streamline your online business operations and provide a better user experience for your audience. With these steps, you can now easily use Kajabi with your WordPress website. However, to get the most out of this integration, it’s important to have a clear understanding of your business goals and how Kajabi and WordPress can help you achieve them.


